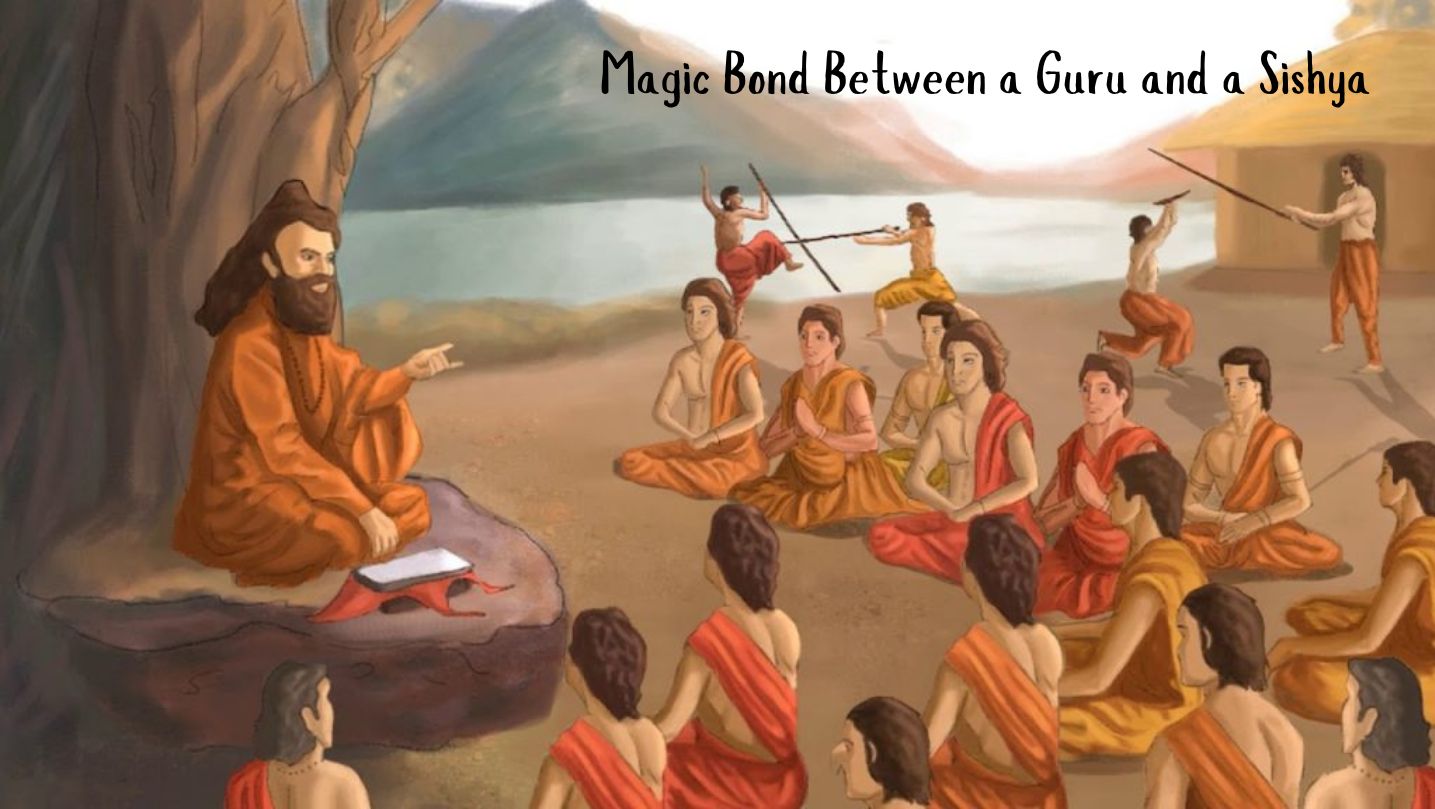
Sarvangasana (Or Shoulder-Stand)
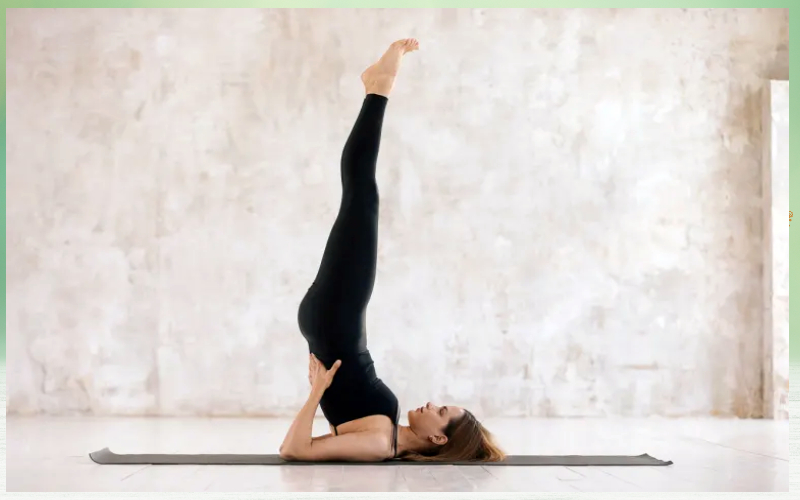
The ‘Sarvangasana’ in Sanskrit means a pose that on works out all parts of the body. It is comparatively easier than the classical headstand pose, but the perfection of the pose can only be achieved through continuous practice. In this pose, the entire weight of the body is concentrated on the neck. Ultimately, the neck gets stronger and flexible to hold the body. The headstand pose is classified as the ‘King of poses’ while the shoulder-stand pose is known as the ‘Queen’.
Method
1. Lie on your back with your hands alongside the body.
2. Inhale and exhale deeply. By pressing down the palms, hoist the hips high.
3. Only when the hips are raised up, you should move your palms to hold the waist.
4. The elbows must be firmly placed on the ground. Continue breathing normally. Hold this pose for few seconds.
5. Lower the feet over the head by bending your knees and hold the pose for few seconds as long as it is comfortable.
6. The pose can be exited by releasing the palms. Keep them flat over the mat. Keep the legs low.
7. Continue breathing normally, and lower the back starting from the upper-back, mid-back, and lower-back, with the hips coming down finally.
8. Inhale exhale & drop the legs straight down to the ground.
9. Relax in the corpse pose for half a minute or more, till the breathing resumes to normal.
Things to be Aware of
1. Women can avoid doing this pose and any during their menstrual period.
2. It must be strictly avoided by cardiac patients and those with high blood pressure can perform it in the phased manner under proper guidance.
3. Patients suffering from inflammation or enlargement of glands must avoid this aasana.
4. Those with spinal problems, especially of the neck, shall avoid the shoulder-stand entirely till it is healed. Also, by those with lower back problems need to phase their learning, and advance into it only after strengthening the back through the regular practice of leg raises.
Fine Tuning
1. The main mistake done by the beginners is when they host their hips, it is understandably done with a jerk. Because they are still gauging the strength needed for the hip lift. But after having attempted the pose and convinced themselves that it is possible, they should be taught to do it more gently with control.
2. The hips are the heaviest part in the body and there is great deal of timidity and concern about whether they will lift. Often this fear is unconscious. Some students fear that they may topple over, but this is nothing to agonise. One must consistently practice the posture over a long time period, until one overcomes the fear and gains right understanding.
3. A common mistake even among the advanced practitioners is to take the weight of the hips onto the palms. The weight must be held aloft with the strength of the back and must not rest on the hands at all.
4. The biggest concern is coordinating hand movement to support the hips. The hands should rise up only after the hips are in air. Often the hands come up before the hips are lift up.
5. When descending from the pose, ensure the arm remain parallel to each other, as you begin to lower the hips. Most students will place the arms too far, often out of the mat. This must be corrected to bring more muscular awareness and control into the process of exiting the pose.
Note: All Aasanas must be done only under proper supervision.
NEXT ARTICLE


Earlier this year in March, Prime Minister Narendra Modi formally declared "Yoga for One Earth, One Health" as the theme for International Yoga Day 20...
Verandah Club is an initiative by few like-minds of Coimbatore who are interested to share information on various antiquities of Bharat.
Free download our iOS & Android app
© Copyright 2026, All Rights Reserved.